Using Rich Text Block and String Table
Using Rich Text Block and String Table
-
Add Rich Text Block
-
Add a RichTextBlock in the Widget Designer.

Alternatively, use LayeredTooltipRichTextBlock to skip steps 2 and 3.
-
In the Details tab of the added RichTextBlock, locate Decorator Classes.
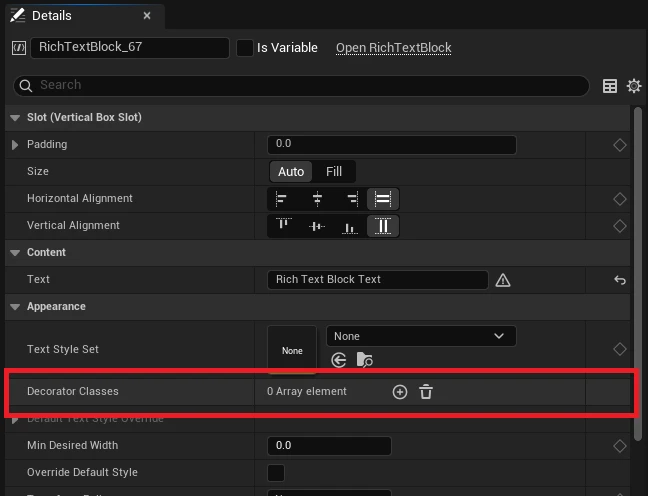
- Add LayeredTooltipDecorator.
- Assign an appropriate TextStyleSet to the RichTextBlock.

We'll use the pre-configured DT_LayeredTooltip_Default_RichText for this example. Tag configuration for tooltips will be covered below.
-
-
Writing Text
- Add the
<Tooltip>tag to your text.

- Now hovering over the tagged word will display a tooltip.
- Add the
-
Preparing Tooltip Content
Implement LayeredTooltipTextProvider for complete control over tooltip content display. The default LayeredTooltipDefaultTextProvider uses String Tables to define tooltip content.
- Modify the default String Table in Plugin Content. Open
ST_LayeredTooltip_DefaultatPlugins/LayeredTooltip/DefaultResources/.
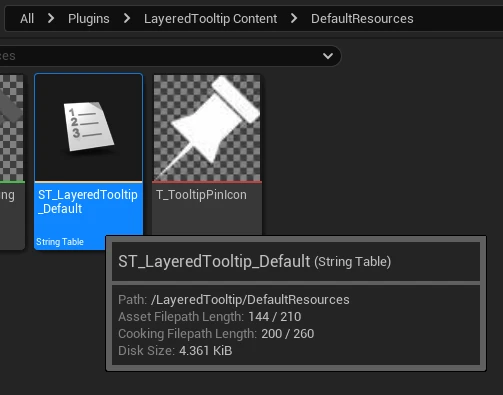
- Create a string key named
tooltip_plugin.
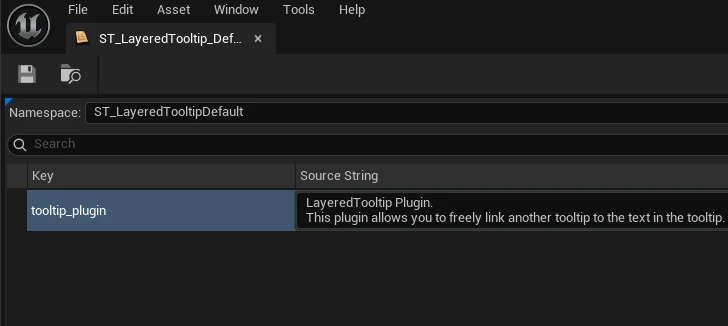
- Add the string key to the text. Change from
<Tooltip>to<Tooltip TextId="tooltip_plugin">to include the TextId.

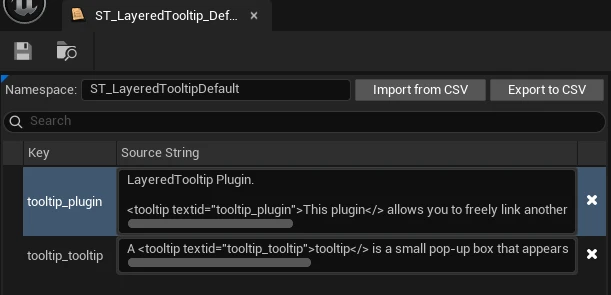
Tags like
TooltipandTextIdcan be customized throughPlugin Settings → Tooltip Tags, Tooltip Text Metadata Key. - Modify the default String Table in Plugin Content. Open
-
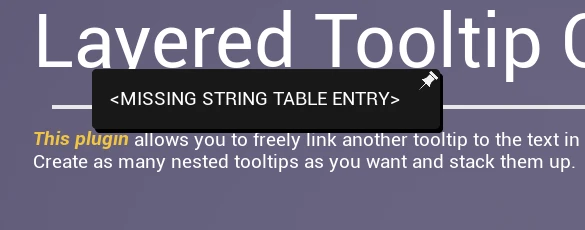
Tooltip content is now displayed.

- Implement nested tooltips by adding additional tags within tooltip content.
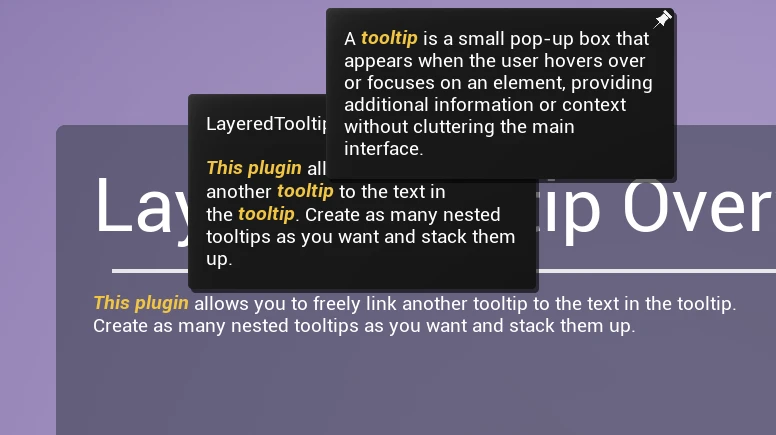
The above content is defined in the String Table as follows:
LayeredTooltip Plugin. <tooltip textid="tooltip_plugin">This plugin</> allows you to freely link another <tooltip textid="tooltip_tooltip">tooltip</> to the text in the <tooltip textid="tooltip_tooltip">tooltip</>. Create as many nested tooltips as you want and stack them up.